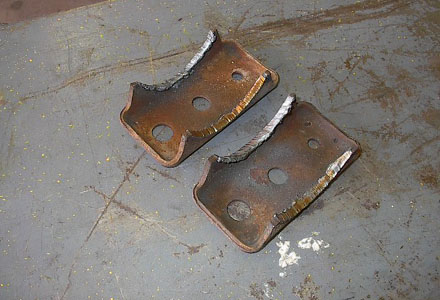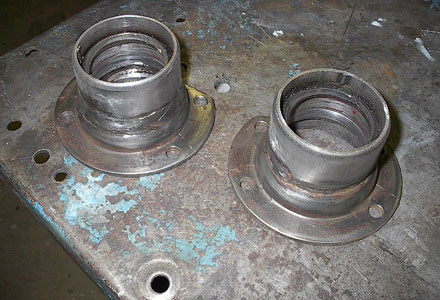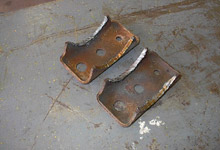
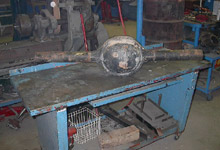
 The perches from the 8" housing were also cut off
since they will be re-used.
The perches from the 8" housing were also cut off
since they will be re-used. |
|
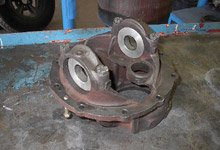
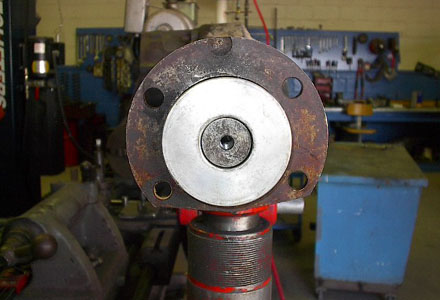
 A bare 9-inch centersection was fitted with aluminum mandrels
that bolt in place of the differential bearings. The I.D.
of the mandrels is the O.D. of the stainless bar that
will slip through them to locate the housing ends.
A bare 9-inch centersection was fitted with aluminum mandrels
that bolt in place of the differential bearings. The I.D.
of the mandrels is the O.D. of the stainless bar that
will slip through them to locate the housing ends. |
| |
|
|
|
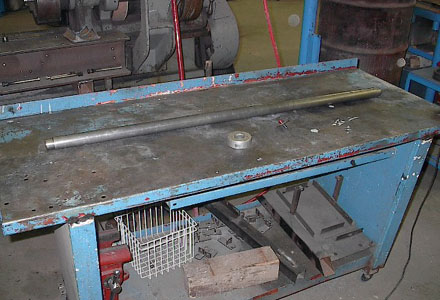
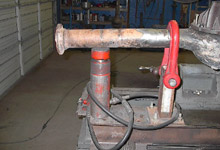
 We used this stainless steel alignment bar to narrow
the housing and check for correct housing alignment.
We used this stainless steel alignment bar to narrow
the housing and check for correct housing alignment.
|
|
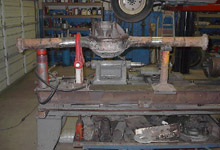
 The dummy centersection is bolted to the 9-inch housing,
the alignment bar is slid through the end of the housing,
and it is checked for straightness. It was already determined
that one or both of the tubes were bent. The housing was
placed in a fixture that can straighten all but the most
distorted housings. The fixture consists of a heavy I-beam
with a holding fixture bolted to it. One end is held up
by an ordinary jackstand that has been modified for this
purpose, and the other end is held up by a 10 ton hydraulic
ram.
The dummy centersection is bolted to the 9-inch housing,
the alignment bar is slid through the end of the housing,
and it is checked for straightness. It was already determined
that one or both of the tubes were bent. The housing was
placed in a fixture that can straighten all but the most
distorted housings. The fixture consists of a heavy I-beam
with a holding fixture bolted to it. One end is held up
by an ordinary jackstand that has been modified for this
purpose, and the other end is held up by a 10 ton hydraulic
ram.
|
| |
|
|
 This is a close up shot of the fixture. The heavy red
"U" strap keeps the housing from moving up while
the hydraulic ram is pushing . The other end of the housing
is supported by the modified jackstand, so it cannot move.
The housing can be rotated in any direction, so once it
is determined where the housing is bent, it is rotated
180 degrees, and the ram tweaks it back in place.
This is a close up shot of the fixture. The heavy red
"U" strap keeps the housing from moving up while
the hydraulic ram is pushing . The other end of the housing
is supported by the modified jackstand, so it cannot move.
The housing can be rotated in any direction, so once it
is determined where the housing is bent, it is rotated
180 degrees, and the ram tweaks it back in place.
|
|
 The alignment bar determines if the housing is bent or
not. The bar should be able to easily slide from one end
of the housing to the other, but this housing is so severely
bent that it will no go all the way through. The housing
is bent back in the opposite direction to get it straight.
Some are probably thinking that their housing cannot be
bent, but the truth is many of them are. Your housing
could be too. If you race the car, or even drive it on
the street, you should have the housing checked.
The alignment bar determines if the housing is bent or
not. The bar should be able to easily slide from one end
of the housing to the other, but this housing is so severely
bent that it will no go all the way through. The housing
is bent back in the opposite direction to get it straight.
Some are probably thinking that their housing cannot be
bent, but the truth is many of them are. Your housing
could be too. If you race the car, or even drive it on
the street, you should have the housing checked. |
| |
|
|
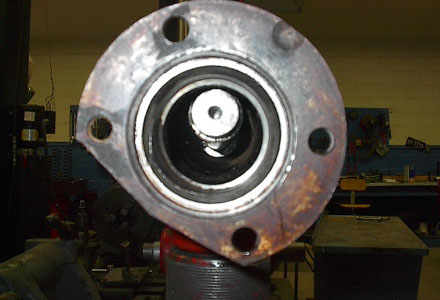
 The housing was tweaked until another aluminum mandrel
could be slipped into the end of the housing easily.
The housing was tweaked until another aluminum mandrel
could be slipped into the end of the housing easily.
|
|

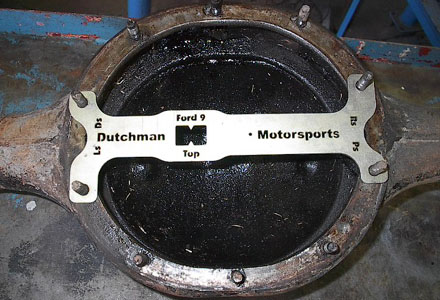
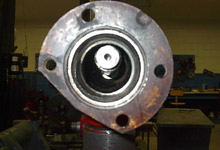
 A tool called a "dogbone" from Dutchman Motorsports
was used for all the critical housing measurements. The
dogbone locates on the housing studs and tell us where
the end of the axle spline ends up when bolted in the
housing. All measurements were taken from this tool.
A tool called a "dogbone" from Dutchman Motorsports
was used for all the critical housing measurements. The
dogbone locates on the housing studs and tell us where
the end of the axle spline ends up when bolted in the
housing. All measurements were taken from this tool. |
| |
|
|

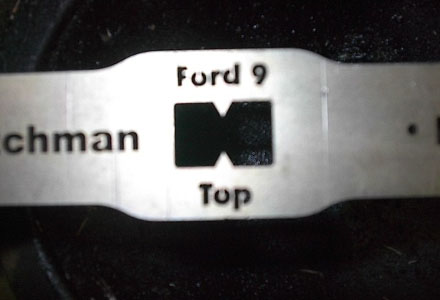
 The opening in the tool measures
1-1/8", which is the distance between the axles that
we spoke of earlier. The left edge of the tool is the
end of the spline for the left side axle, and the right
edge of the tool is the end of the spline for the right
axle.
|
|
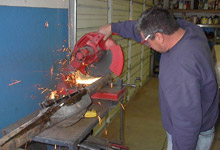
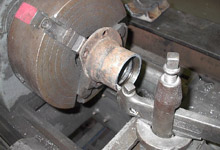
 "Hot Rod" Manny Rodriguez whacks off the housing
ends from the 8-inch in a cut-off saw. These will be used
on the 9-inch housing as the axles are small bearing axles.
"Hot Rod" Manny Rodriguez whacks off the housing
ends from the 8-inch in a cut-off saw. These will be used
on the 9-inch housing as the axles are small bearing axles. |
| |
|
|
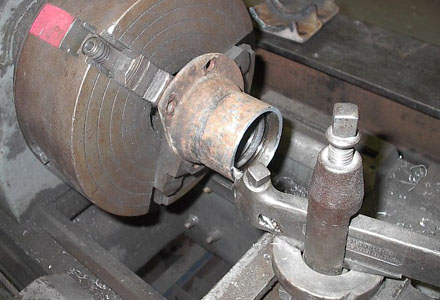
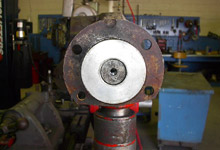
 The housing ends are chucked up in the lathe and faced
until they measure 2-1/2" tall. This measurement
will be important in a few steps. The lathe is a 1936
Bradford that once served time on a WWII aircraft carrier.
The housing ends are chucked up in the lathe and faced
until they measure 2-1/2" tall. This measurement
will be important in a few steps. The lathe is a 1936
Bradford that once served time on a WWII aircraft carrier.
|
|
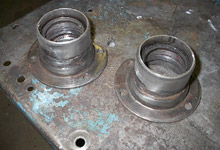
 The housing ends are cleaned and ready to be welded.
|
| |
|
|
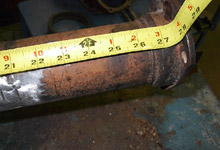
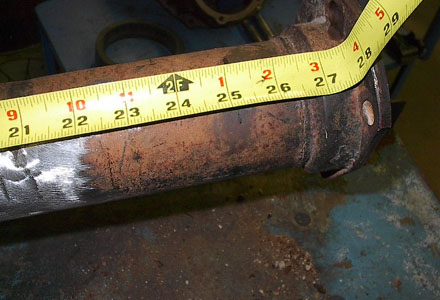
 With one end of the tape measure hooked into the right
side of the dogbone, we determined where to cut the housing.
The right side axle measured 30-1/8". So we had to
do a little math first. The brake backspace (offset) measured
2-1/2", the housing end measured 2-1/2" also,
we added the two measurements together and subtracted
that from the axle length.
With one end of the tape measure hooked into the right
side of the dogbone, we determined where to cut the housing.
The right side axle measured 30-1/8". So we had to
do a little math first. The brake backspace (offset) measured
2-1/2", the housing end measured 2-1/2" also,
we added the two measurements together and subtracted
that from the axle length.
30-1/8" - 5" = 25-1/8". We measured from
the dogbone over to the right side of the housing and
made a mark at 25-1/8". This is where we would make
the housing cut. |
|

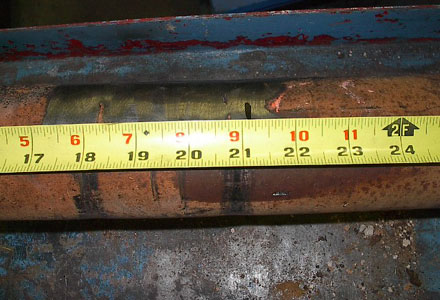
 We did the same math for the left side axle except the
numbers were a little different.
We did the same math for the left side axle except the
numbers were a little different.
26-1/8" axle length, 2- 1/2" brake backspace,
2-1/2" housing end length equals a 21-1/8" housing
cut mark. We measured over to the left side of the axle
tube from the dogbone and made a mark at 21-1/8".
This is where we would cut the housing on the left side.
|
| |
|
|
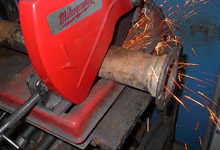
 Both ends of the housing are cut at their respective marks
in a cut off saw.
Both ends of the housing are cut at their respective marks
in a cut off saw. |
|
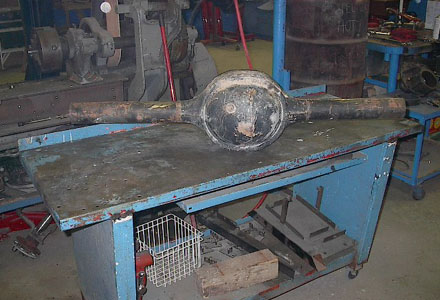
 This is the bare 9-inch housing ready for the ends to
be welded on.
This is the bare 9-inch housing ready for the ends to
be welded on. |