1. We started with the hatch
area first, since it is fairly easy, and then worked foward.
|

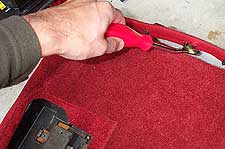
2. A close of up the rug
in the hatch area showed just how much wear and tear occurs
over ten-plus years. |
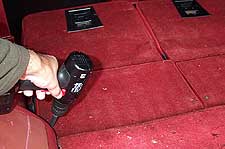
3. The hatch area carpet
is held in place with a number of sheet metal screws,
we zipped them out with an electric drill and driver attachment. |
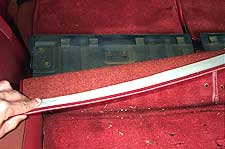
4. With the seats folded down,
slip the hatch carpet off the seat-back panel. The hatch
carpet can be removed from the car now. |

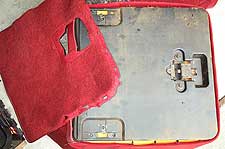
5. The old red carped is
shown next to the new black ACC carpet. The ACC carpet
features a stitched nylon cover around the outer edge
to prevent fraying. |
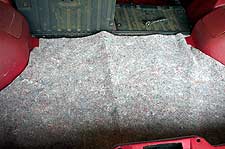
6. Also included with the
carpet kit is a new hatch area insulation piece. We laid
it over the cardboard spare tire panel, and kept one of
the two thick stock insulators for more sound deadening. |

7. The rear seat back need
to be removed from the car in order to change the carpet
backing. The latch trim is removed, and then the seat
is unbolted. The seat bottom needs to be pulled out to
access the bolts. |
8. Be sure to keep all the
screws and hardware together, Ford used a variety of screw
sizes for the interior trim. |
|
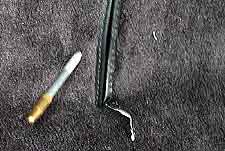
9. With the rear seat
back out, we used a interior trim tool to separate the
clips holding the seat cover to the seat.
|
10. The carpeted seat back
can now be removed, and the new ACC piece installed. Note
how the edge of the carpet back folds over the seat back. |
11. The new carpet is secured
into place with the same sheet metal screws removed earlier.We
used a sharp scribe to punch holes for the retaining screws. |
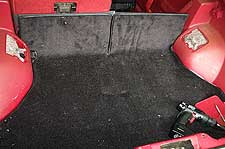
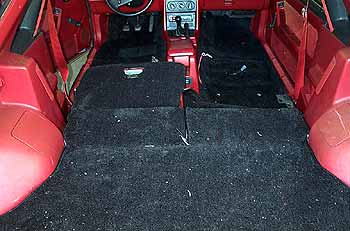
12. With the hatch area
and seat backs completed, we are ready to tackle the
main compartment.
Continue
|