| Part
I: Shortblock Assembly |
4.
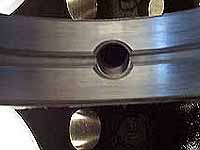
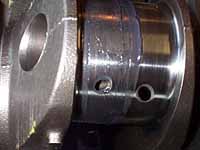
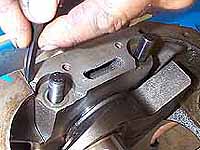
We also enlarged the oil holes in the main bearings so
they matched up with the passages in the saddles. Out
of the box the bearings cover nearly a third of the passage.
We'll install restrictors in the heads only, to limit
the amount of oil going to the rockers. |
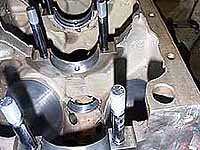
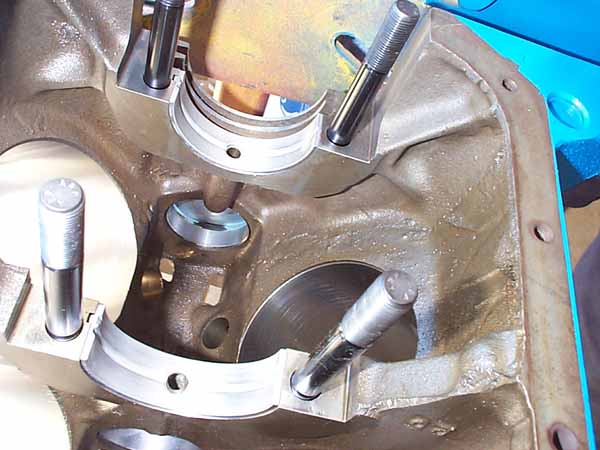
5.
After thoroughly cleaning the block with hot water and
soap, and blowing out all the passages with compressed
air, we began assembly.
We went with ARP main studs for added security in keeping
the crank spinning true.
|
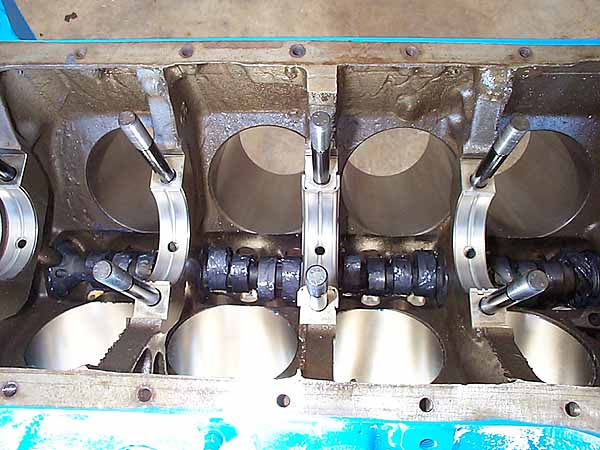
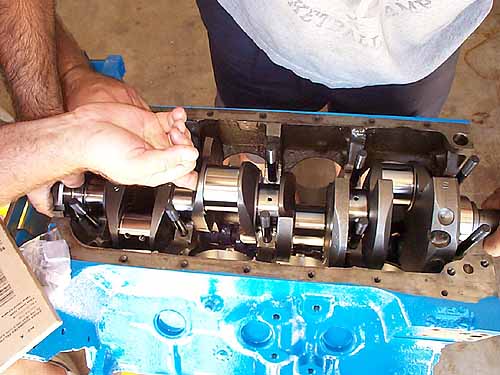
6. The
first step is to install the crank and check for adequate
main bearing clearance, using Plastigage.
|
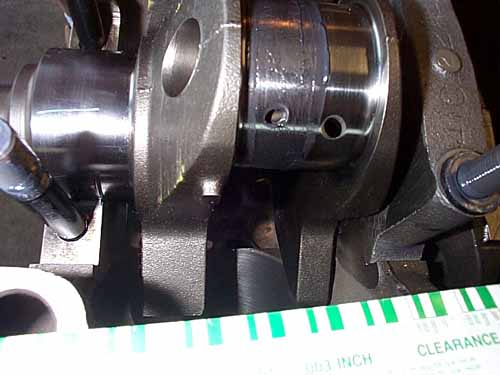
7.
Install the crank, place a strip of Plastigage on one
or more main journals, and install and torque the main
caps to spec. |
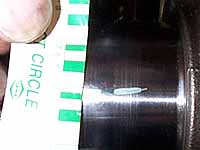
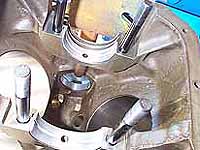
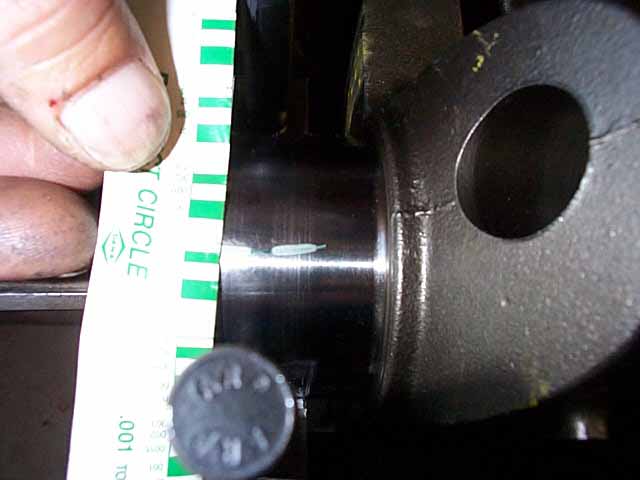
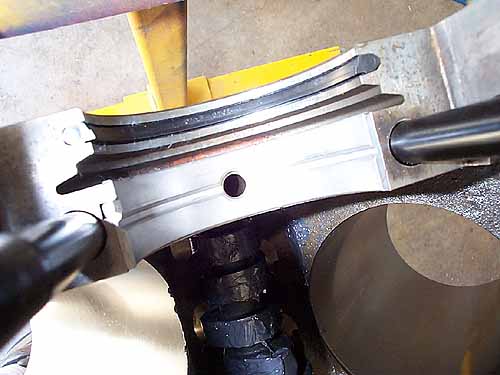
8.
Remove the main caps carefully, and measure the width
of the compressed Plastigage using the provided gauge.
Ours measured 0.0030", exactly where we wanted it.
Stock engines are closer to 0.0018"- 0.0020",
however for a performance engine, shoot for 0.0020"
- 0.0030" to reduce friction and increase horsepower.
|
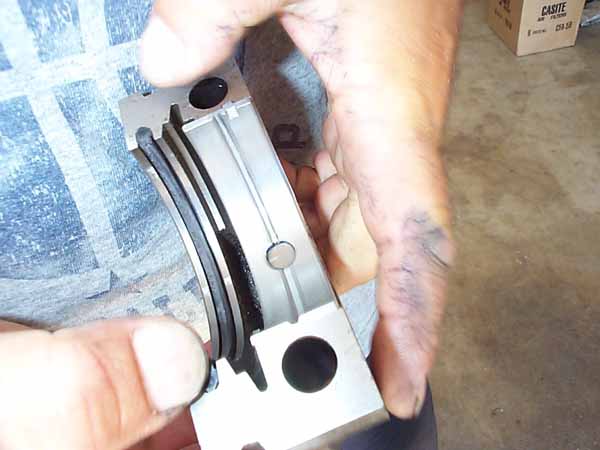
9.
Use the Plastigage to also measure rod bearing clearance.
Shoot for 0.0018"-0.0025."
If your clearances don't meet specifications (too tight
or too loose) contact your machine shop to figure out
the best solution. A crank that is too tight can be cut
or polished to achieve proper clearance. If its too loose,
you may be able to go to the next over sized bearing. |
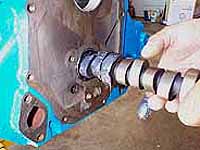
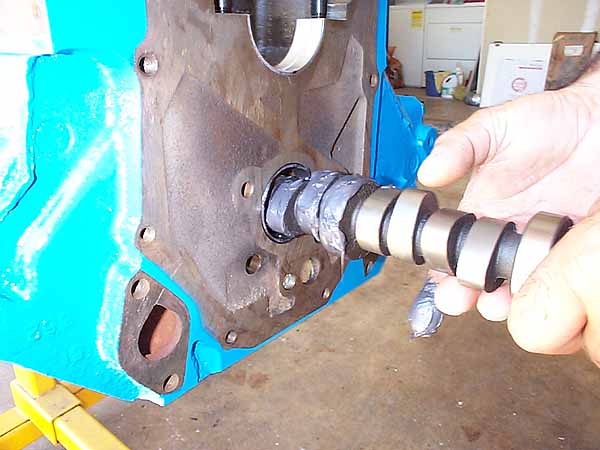
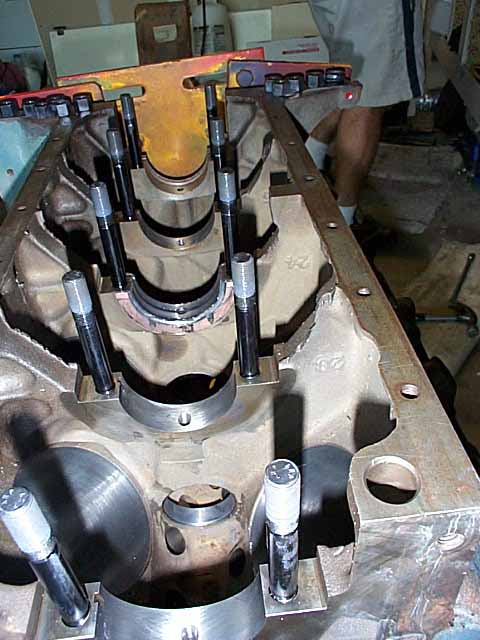
10.
We like to install the cam shaft before anything else.
Use plenty of moly.
|
11.
Without the crank and pistons in the way, you can easily
reach down through the block and guide the cam in place.
|
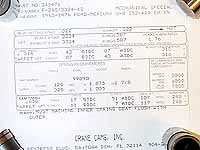
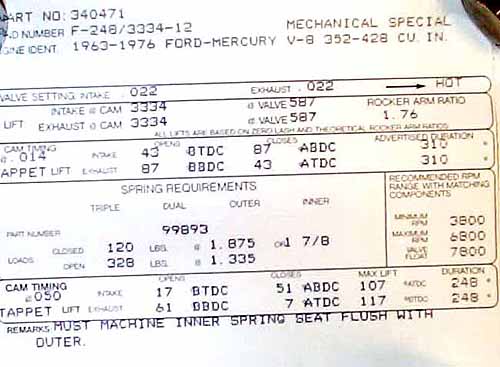
12.
We've decided to run a Crane mechanical with 248 degrees
duration at 0.050" and 0.587" lift, on both
intake and exhaust. With the Edelbrock heads we'll be
running, and a single plane intake, the cam should be
a torque monster, good to about 6800 rpm.
|
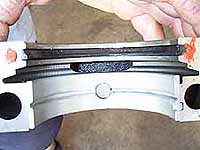
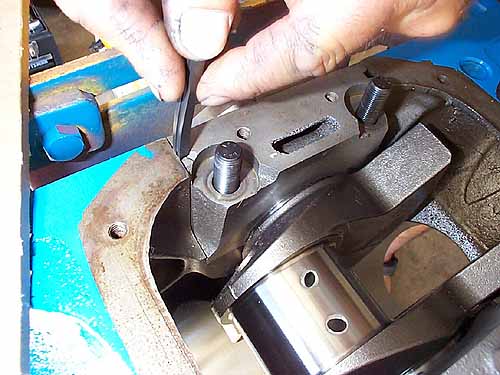
13.
The next step is to install the rear main seal. The FE
rear main seal has six pieces. Two rubber/steel core halves,
and then two side pieces which are wedged in with steel
pins. |
14.
Install the other half of the rear main seal in the main
cap. Use a couple dabs of silicone RTV on the mating ends
of the seal. |
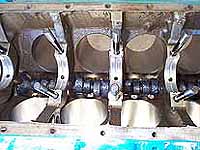
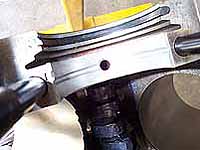
15.
Place the lower half of the main bearing shells in place.
Use moly on the crank side only.
|
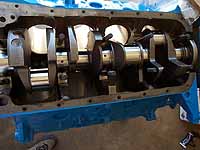
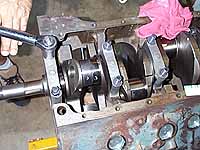
16.
The crank is carefully laid in place.
|
17.
Install the rear main cap, and then slide in the rubber
side pieces. These can be tough to install, it helps to
spray them with silicone spray lubricant.
|
|
|
|
|


