|
 Ford
was on the right track when they introduced tubular headers and
dual exhausts on the first 5.0 Mustangs. However the factory systems
still fell short in performance, as they were designed to minimize
sound and emissions, rather than maximizing performance. Consequentially
it didn't take long for the aftermarket to realize there were
substantial horsepower gains to be had through better headers,
h-pipes, and cat-back systems. On a stock 5.0 engine upgrading
to shorty headers and a 2.5" cat-back will yield in the neighborhood
of 15 - 20 rear wheel horsepower. However the real benefit of
a free-flowing exhaust system comes when you start improving on
the induction end of the motor. A good 2.5" h-pipe and cat-back,
teamed with a set of shorty headers, will handle near 400 horsepower;
which means as you upgrade things like the intake, cam, and heads,
your exhaust system will be able to handle the additional output. Ford
was on the right track when they introduced tubular headers and
dual exhausts on the first 5.0 Mustangs. However the factory systems
still fell short in performance, as they were designed to minimize
sound and emissions, rather than maximizing performance. Consequentially
it didn't take long for the aftermarket to realize there were
substantial horsepower gains to be had through better headers,
h-pipes, and cat-back systems. On a stock 5.0 engine upgrading
to shorty headers and a 2.5" cat-back will yield in the neighborhood
of 15 - 20 rear wheel horsepower. However the real benefit of
a free-flowing exhaust system comes when you start improving on
the induction end of the motor. A good 2.5" h-pipe and cat-back,
teamed with a set of shorty headers, will handle near 400 horsepower;
which means as you upgrade things like the intake, cam, and heads,
your exhaust system will be able to handle the additional output.
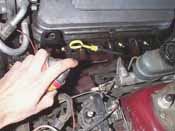
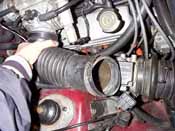
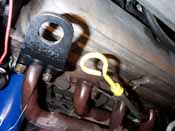
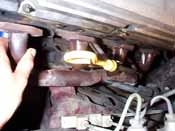
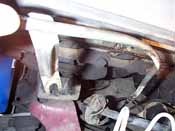
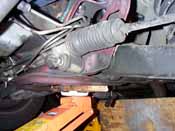
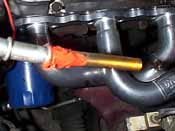
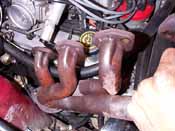
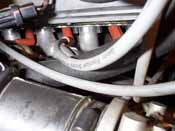
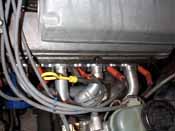
Our bone stock '88 LX, with over 110,000 miles, was begging for
some upgrades. We had already installed an off-road h-pipe some
time back. We had a Dynomax 2.5" Super Turbo cat-back system
laying around, so we decided to pick up some Dynomax equal length
headers and round out the system. |
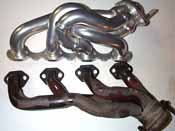
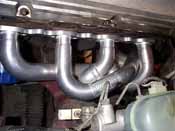
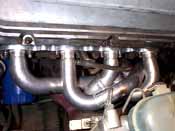
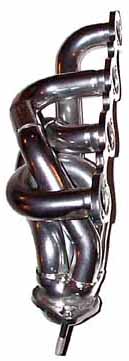
Dynomax's
Ceramic coated Equal-Length Shorty Headers
|
| Upgrade your Mustang Exhaust with headers, mid pipes, and tail pipes from AmericanMuscle
| |