RCA Cables, Stereo Mini
Plug, and Finish Wiring
The fundamental part of making this stereo system operate is
the RCA capable stereo mini-plug. As you will see, installaltion
is straight forward.
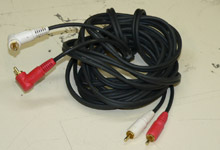
 A 12 foot length of standard RCA cables were required
to run from the amplifier up to the center console.
A 12 foot length of standard RCA cables were required
to run from the amplifier up to the center console. |
|
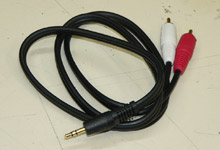
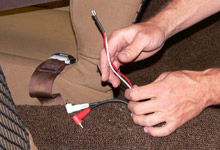
 Once the RCA cable was routed to the center console, this
RCA capable stereo mini-plug would allow any sound device
with a mini-plug jack to be connected to the system.
Once the RCA cable was routed to the center console, this
RCA capable stereo mini-plug would allow any sound device
with a mini-plug jack to be connected to the system. |
| |
|
|
|
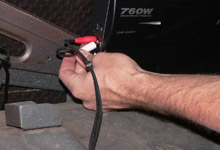
 I connected the 12 foot RCA cables to the amplifier.
|
|
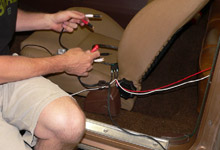
 Temporarily, I ran the RCA cables outside the car and
into the cab. With the use of some RCA barrell connectors,
I connected the stereo mini-plug to the RCA cables.
Temporarily, I ran the RCA cables outside the car and
into the cab. With the use of some RCA barrell connectors,
I connected the stereo mini-plug to the RCA cables. |
| |
|
|
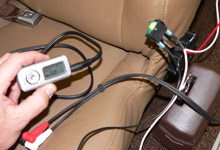
 By connecting my MP3 player to the system and powering
up the amp, I had great sound in the Montego. I took a
long break and enjoyed some AC/DC.
By connecting my MP3 player to the system and powering
up the amp, I had great sound in the Montego. I took a
long break and enjoyed some AC/DC. |
|
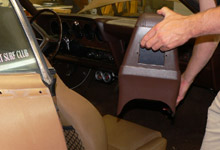
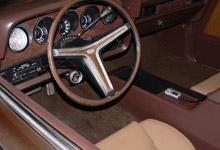
 Now that I was confident the system was wired correctly,
it was time to make a clean installation... inside the
car! The center console came out.
Now that I was confident the system was wired correctly,
it was time to make a clean installation... inside the
car! The center console came out. |
| |
|
|
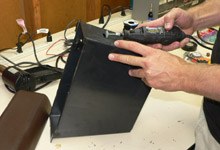
 To accomodate the switch, I cut out a rectangular hole
in the front end of the console tray.
To accomodate the switch, I cut out a rectangular hole
in the front end of the console tray. |
|
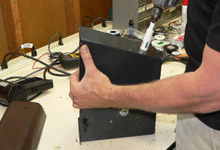
 On the rear end of the console tray I drilled a 1/2"
hole to run the RCA cables and main power wires from the
amplifier.
On the rear end of the console tray I drilled a 1/2"
hole to run the RCA cables and main power wires from the
amplifier. |
| |
|
|
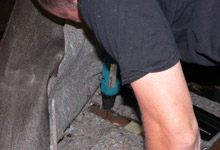
 After removing the rear seat, I threaded the main power
wires and RCA cables in from the trunk, behind the seat,
and under the the carpet. The wires were secured under
the stock floorboard looms.
After removing the rear seat, I threaded the main power
wires and RCA cables in from the trunk, behind the seat,
and under the the carpet. The wires were secured under
the stock floorboard looms. |
|
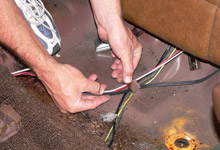
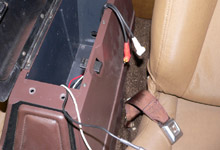
 The wires from the amplifier came up from under the carpet
just in front of the rear of the console.
The wires from the amplifier came up from under the carpet
just in front of the rear of the console. |
| |
|
|
 The 12V "key on" power and ground wires were
routed and under the carpet along the front of the transmission
tunnel.
The 12V "key on" power and ground wires were
routed and under the carpet along the front of the transmission
tunnel. |
|
 All six wires met up inside the center console tray between
the bucket seats.
All six wires met up inside the center console tray between
the bucket seats. |
| |
|
|
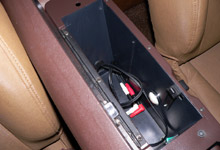
 I used a grommet to secure the RCA cables inside the console
and connected the stereo mini-plug.
I used a grommet to secure the RCA cables inside the console
and connected the stereo mini-plug. |
|
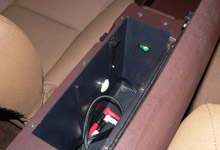
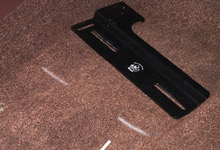
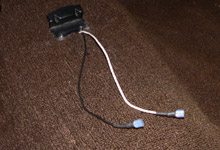
 Here's a shot showing how the switch was mounted. Very
clean.
Here's a shot showing how the switch was mounted. Very
clean. |
| |
|
|
 No, that's not a mouse resting on the console. That's
the car stereo.
No, that's not a mouse resting on the console. That's
the car stereo. |
|
|
Conclusion
If you are a classic Ford enthusiast, your flavor for old
Fords doesn't mean you should neglect technology when it can
enhance your project car. The greatest advantage of this set
up would be found in its combination with an IPod. While I
still have not invested in one, the new found stereo mini-plug
in my console just might make me do it. I've always considered
myself a late adopter of new technologies. Now's the time!
If you have an questions or comments about this article please
feel free to contact Jon Mikelonis by email at jon@fordmuscle.com

|
|
|
|
|
|
|
|
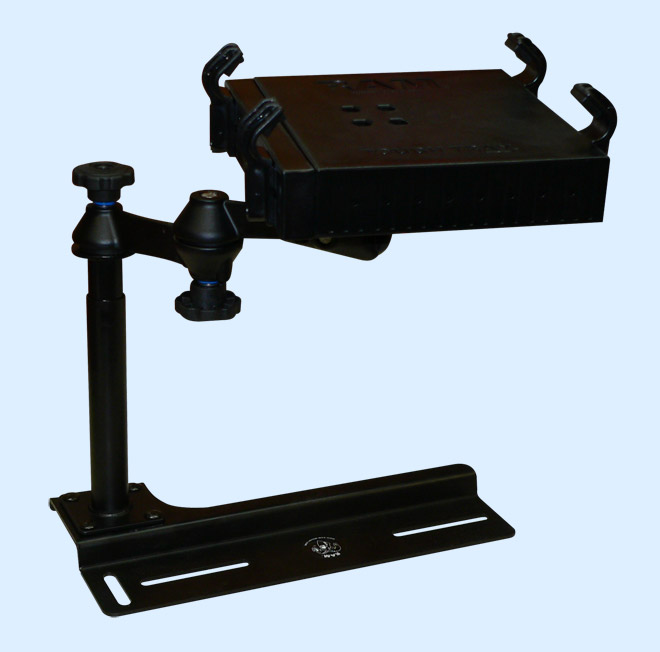
 Ram
Mount Mounting Systems Ram
Mount Mounting Systems
The Ram
Mount Company is the industry leader in mobile electronic
 mounting
devices for almost anything that moves. Such as bikes, automobiles,
boats, planes, lift trucks, etc. Their product line includes
mounts for pocket PCs, cell phones, laptops, fishing rods,
IPods, XM radios, and more. One look at the manufacturing
quality of their product and you'll know these things are
conceptualized, designed, and produced in the United States. mounting
devices for almost anything that moves. Such as bikes, automobiles,
boats, planes, lift trucks, etc. Their product line includes
mounts for pocket PCs, cell phones, laptops, fishing rods,
IPods, XM radios, and more. One look at the manufacturing
quality of their product and you'll know these things are
conceptualized, designed, and produced in the United States.
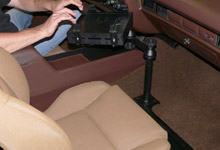
Although you've seen them in police cruisers, adjustable
laptop mounts are not limited to law enforcement. Whether
you want to use a laptop in your project car to read logged
air/fuel data, tap into a wireless network on the road,
or listen to a concert DVD, these mounts are a practical
install.
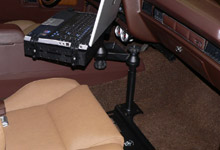
The newly installed stereo mini-plug in FordMuscle's 1972
Mercury Montego offered the incentive to mount a laptop
securely in the car.
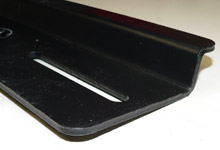
The mount used here was designed
as a direct bolt-in for a '91 and up Crown Victoria. It
retails for $184.00. Obviously, Ram-Mount doesn't offer
a laptop mount specific to the 1972 Mercury Montego, so
the Crown Victoria unit was bolted through a couple holes
drilled into the floorboard.
|
|
|
|
|