| 351C
4V Cam Swap: Removal |
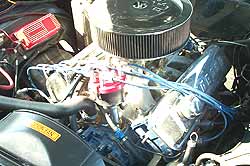
1 The starting point: One 351C 4V motor with a very big
and unstreetable Ultradyne cam. Specs: 243/251 duration @ 0.050.
Lift: .617 Intake, .642 Exhaust |
2 Needless to say there is quite a bit of stuff to remove
to get to the cam and lifters. We started by removing the distributor,
plug wires and plugs. Don't worry about losing the rotor position,
this will be reset to top dead center later. |
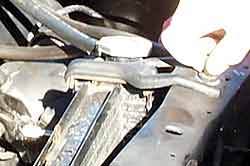
3 Just about all cars require removal or the radiator
to allow room for the cam to slide out. Drain it first, remove
the shroud and hoses, then finally the hold down brackets. |
4 With the radiator out of the way, the shroud can also
be removed, allowing access to the fan bolts. The belts need
to be taken off the pulleys as well. |

5 The valve covers are removed next, followed by the
carburetor. |
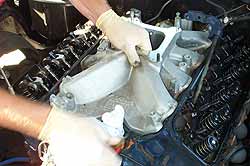
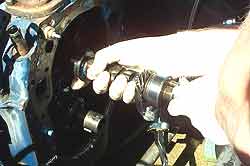
6 The intake bolts are removed, and then the intake is
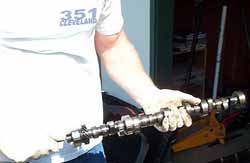
pulled off. We had to pry a screwdriver between the front end
seal to break the silicone bead. |

7 With the intake and valve covers off, we removed the
rocker arms and pushrods. |

8 The old lifters are removed from their bores. Never
reuse flat-tappet lifters! |
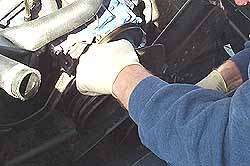
9 Working back, the water pump is next. We had to unbolt
the alternator and powersteering pump (leave the connected but
moved aside.) |
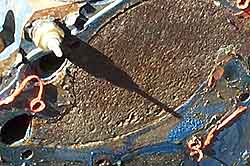
10 Behind the waterpump sits the timing cover. Ours was
in pretty rough shape, which led to some problems which we'll
explain later. |

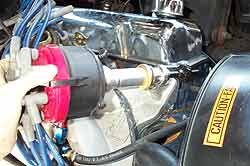
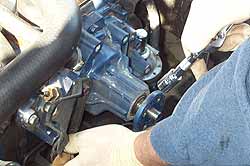
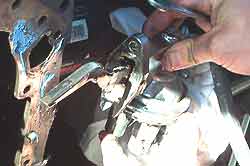
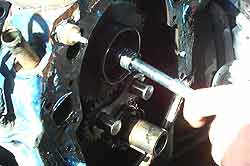
11 The harmonic balancer must be removed in order to
allow removal of the timing cover. Always use a balancer puller
as seen here. Be sure to remove the balancer bolt and washer
first! |
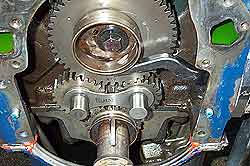
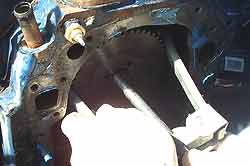
12
Removal of the timing covers reveals the timing chain, or as
in our case, the noisy Pete Jackson gear drive.
|
13
We could have done this sooner, but we forgot... remove the
fuel pump!
|
14
A 9/16" socket is used to remove the fuel pump eccentric
retaining bolt.
|
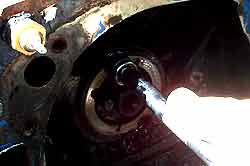
15 The cam sprocket needs to come off next. Ours was
on there pretty snug, which required the use of a gear puller
for removal. |
16 Finally, two 1/2" bolts are all that are left
to access the camshaft. |
17 Using a long bolt, for leverage, threaded into the
end of the camshaft, the cam is slowly guided out of the motor,
taking care not to damage the cam bearings. |
18 The halfway point! The old cam is out and will be
boxed up and put away. Perhaps we'll use it in a 4V road-racing
motor down the line. |
| |
Continue
with Cam Installation
You must be a subscriber
to continue.
|
|
|


