|
Installing
the EWP
|
 |
 |
 |
 |
1.
Installation begins with draining the cooling system.
The pump needs to be installed in the lower radiator hose.
Because the pump is a universal fit, it can be installed
into virtually any vehicle. For some vehicles installation
will require nothing more than cutting out a 4" section
from the lower hose and clamping the pump in between.
On other cars, such as our 1967 Mustang, there is not
a whole lot of room between the radiator and water pump,
so the pump had to be set off to the side, using two hoses. |
2.
If your hose is long enough, you can simply cut out a
4" section and splice the pump in between. Otherwise,
if space is tight, you'll need to use two hoses in order
to position the pump in a location clear of obstructions.
On 5.0 Mustangs, installation is much easier due
to the longer lower radiator hose! |
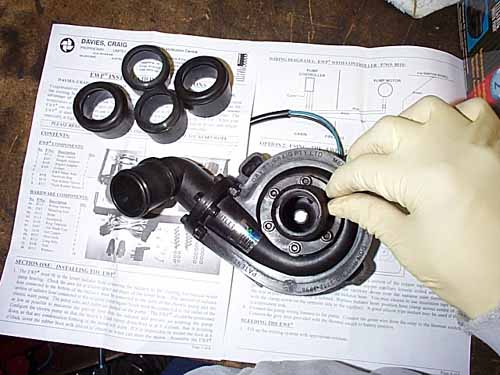
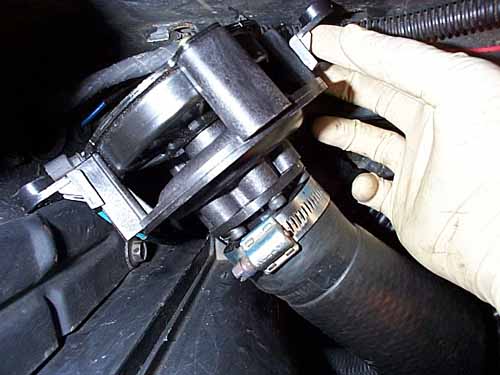
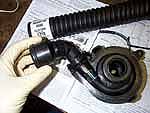
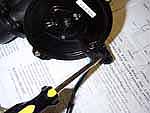
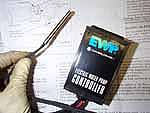
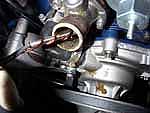
3.
The pump is shaped like a turbo charger, having an inlet
and an outlet. The inlet (where the hand is in this photo)
connects to the radiator, and the outlet connects to the
stock water pump. Included in the kit are a straight hose
extension, and a 90-degree extension. By playing around
with the "clocking" of these two pieces on the
inlet and outlet sides, you can get the inlet and outlet
angles to best match your application. |
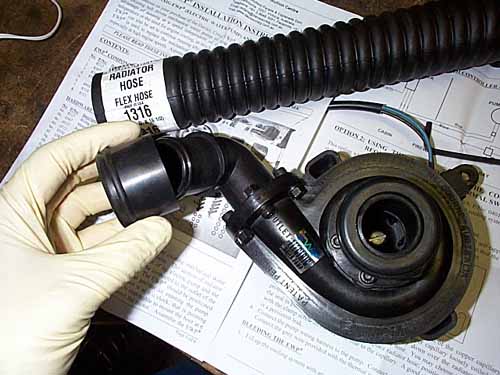
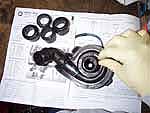
4.
Also included with the pump are these rubber hose adapters,
use the ones which match the diameter of your radiator
hose. |
|
|
 |
 |
 |
 |
|
5.
On the back of the pump is a rubber drain boot. This
should point downward to allow gravity to drain any
condensation buildup in the motor. However if the pump
fits best in your vehicle with this facing up or sideways,
simply fill it with silicone to prevent water entering
the motor.
|
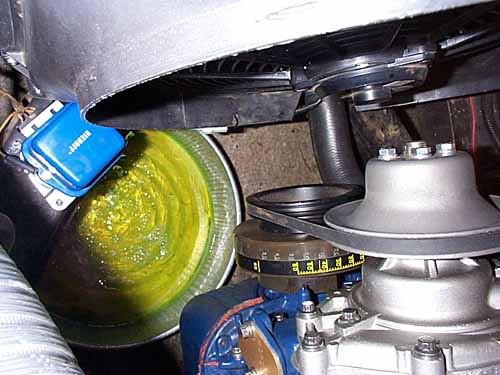
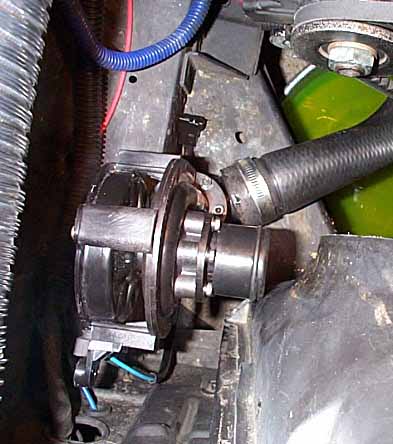
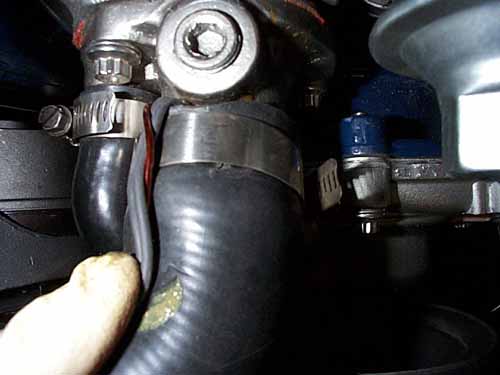
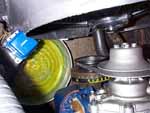
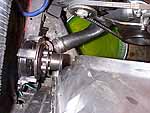
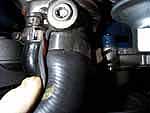
6.
We had to play around with the positioning of the pump
a few times before we found a ideal location. We ended
up putting the pump next to the radiator, sort of resting
on the lower frame member. Note the twist in the stock
hose. We'll replace this with a flex hose. |
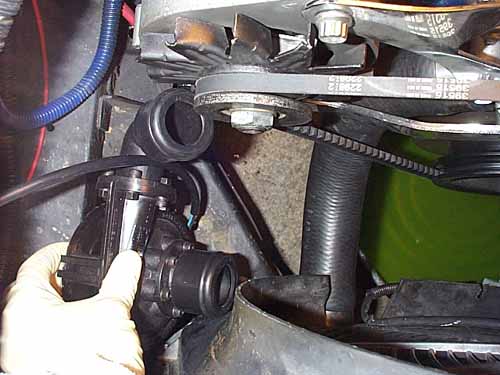
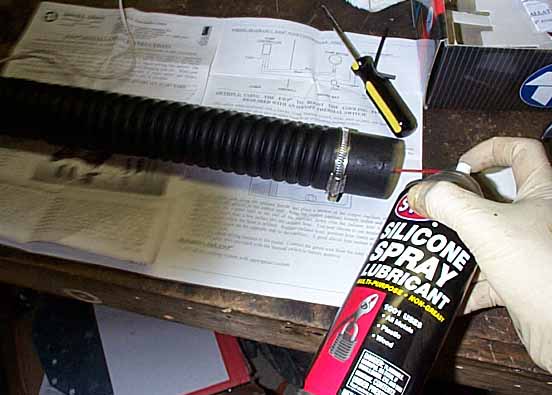
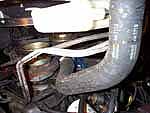
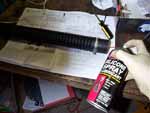
7.
Flex hoses are great for this installation because they
allow you a wide range of movement, whereas the stock
molded hoses will twist and constrict flow. We bought
a flexible radiator hose in the correct diameter (1.75")
for our radiator. Use some silicone spray for easy installation. |
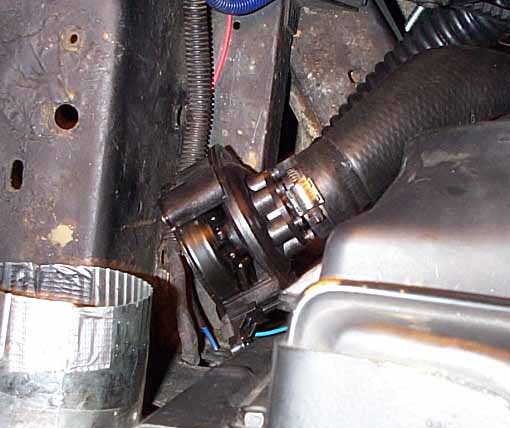
8.
We ended up trimming the stock radiator hose and using
it to connect the pump inlet to the radiator. The flex
hose was used to connect the outlet to the stock waterpump. |
 |
 |
 |
|
 |
| 9.
The nice thing about the EWP is it's feather-light weight
(less than 2 lbs.) Thus there is no need to come up with
solid mounting brackets. In fact the hoses will support
it in place just fine, but for added security you can
use the supplied tabs to attach a bracket or screws. We
simply used large zip-ties to hold it against the radiator
mount. |
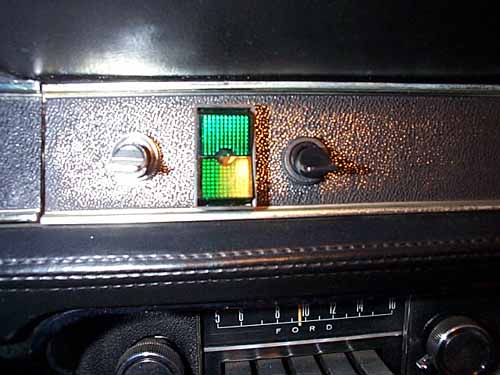
10.
When it comes to operating the pump, you have several
options.
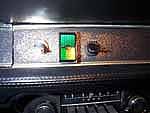
a. Manually Activated
The easiest option is to activate the pump using a dash
mount toggle switch. This is an ideal option for drag
racers who want to free up power by remove their accessory
belt at the track, but at the same time need to keep coolant
circulating to prevent overheating.
This option, in conjunction with an electric fan, allows
the drag racer to quickly cool the engine between rounds.
This option is also good if you simply want to turn the
pump on manually to assist the stock pump when the temperature
gets too hot.
When using the pump in this way, you should drill a
1/8" hole in the thermostat to allow some coolant
to flow when the thermostat is closed.
|
b.
Using the EWP Controller (sold separately), you
can have your cooling system fully electronically controlled.
The Controller uses a coolant temperature sensor and adjustable
control module to regulate the engine temperature; a microprocessor
controls engine temperature by varying the voltage to
the pump to alter flow rate. You set the temperature you
want the engine to operate at for maximum power or fuel
efficiency. Using the EWP Controller requires complete
removal of your thermostat and disabling your stock waterpump.
c. Thermostatic Switch
Another option is to use the pump to assist your stock
water pump. Using either a thermostatic switch mounted
in the radiator fins (similar to ones found on electric
fans), the electric pump comes on automatically to assist
the stock pump when temperatures reach a set level. |
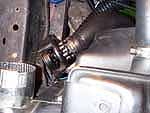
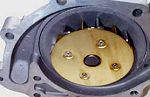
Using
EWP Controller requires disabling the stock waterpump.
The easiest way is to simply by-pass the water pump pulley
with a short belt, or remove the pulley altogether. Of
course this can only be done if you have an electric fan.
If you need to retain the pulley to drive the stock fan,
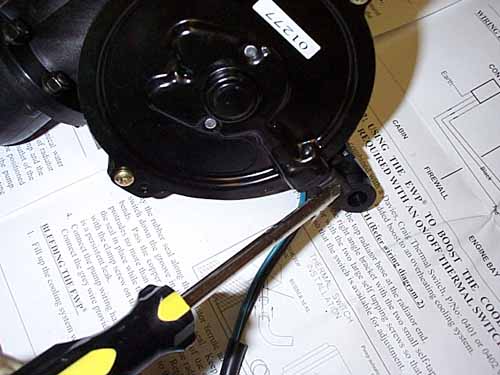
you can disable the pump by removing the impeller. Drill
out the rivets as shown in the picture.
d. Constant Operation
Of course there is the option to wire the pump so that
it runs continuously while the engine is on. This should
only be considered if you have severe cooling problems,
as it accelerates wear on the pump motor. You'll also
need to remove the thermostat and disable the stock pump.
e. Turbo Timer
If you have a turbocharged motor, you can use a turbo
timer to activate the pump and circulate coolant through
the turbos when the engine is shutoff, in order to prevent
oil cooking on the hot bearings. |
|
|
| Installing
the EWP Controller |
 |
 |
 |
 |
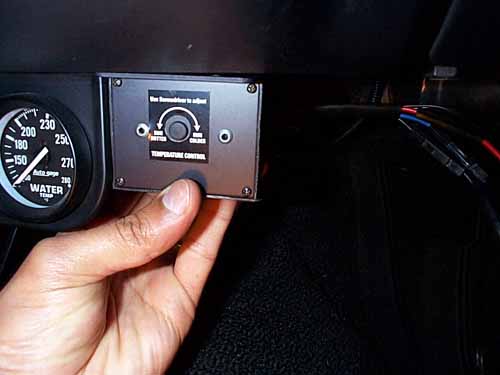
11.
Installing the EWP Controller is straight forward.
The adjustable controller must be mounted in the cabin.
The sensor and wires are fed through the firewall. |
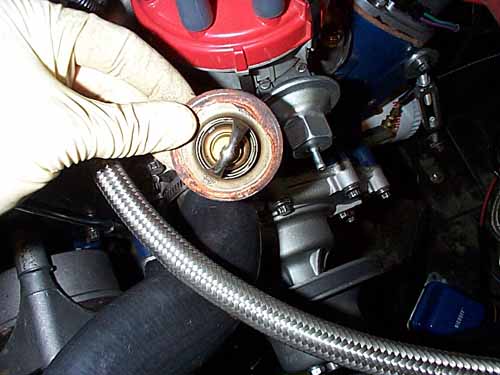
12.
The thermostat will be removed, as the temperature regulation
is completely controlled by the EWP module. |
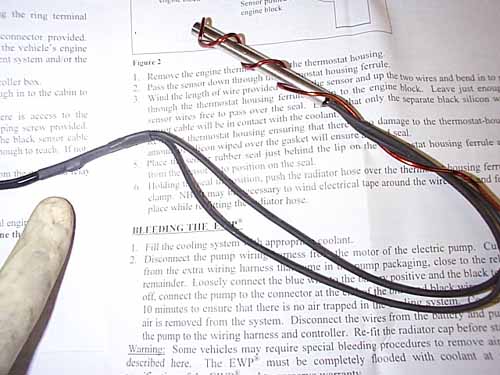
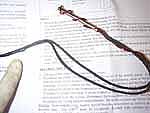
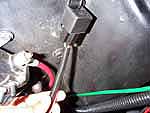
13.
The sensor is wrapped in this thick copper wire (included)
to keep it secures in the manifold or block. |
14.
The sensor is fed down through the thermostat housing,
into the manifold or block, leaving an inch or two of
the copper wire sticking out. |
|
|
 |
 |
 |
 |
| 15.
The sensor and copper wires are folded over the thermostat
housing, and the upper radiator hose is clamped secure. |
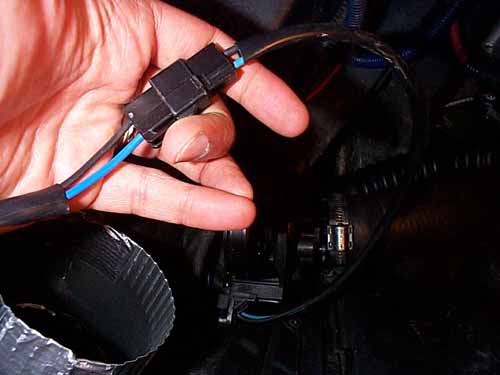
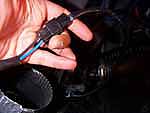
16.
Wiring the EWP and Controller is made easy with provided
harnesses, connectors, and relays.
The blue/black harness from the EWP connects to the blue/black
leads from the Controller. |
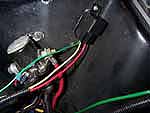
17.
We mounted relay on the fender wall. The red lead connects
to the Controller. The green wire goes to a 12V ignition
source; yellow to battery 12V, and black to ground.
|
18.
We used split-loom to cover the wires for protection
and a clean look. |
|
|
 |
|
Running
the vehicle
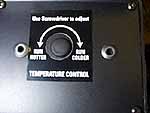
If you are using the EWP Controller, the engine will
take slightly longer to warm-up since there is no
thermostat. Keep an eye on the temperature gauge during
the initial operation of the pump to ensure the Controller
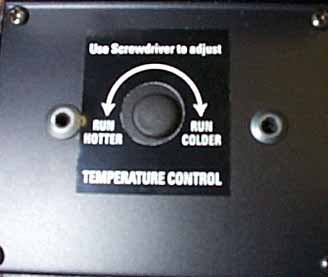
is functioning properly. Adjust the screw on the control
box to dial in the optimum operating temperature.
A slightly cooler temperature (160-170°F) will
make more power, while a warmer operating temp (180-190°F)
will result in maximum fuel economy and emissions.
Contact
Information:
Davies, Craig
3847 Exchange Avenue,
Aurora, Illinois 60504 - 8106
(877) 964 6305
Fax: (630) 851 7744
Email: ili@importlogistics.com
http://www.daviescraig.com.au
|
| 19.
With the wires connected and tucked under the dash, the
Controller can be secured in to place. |
20.
Fill the radiator with coolant. For the EWP to run at
optimum efficiency, any air trapped in the system needs
to be removed.. To bleed the pump, simply remove the radiator
cap and temporaily disconnect the blue/black harness from
the pump. Connect a length of wire from the blue lead
to the battery (+) and another wire from the black lead
to battery (-). This will activate the pump and circulate
coolant, bringing any air bubbles to the top of the radiator.
Fill the radiator as neccesary. |
|