| Liven
up your AOD with a Shift Kit! |
| Installation |
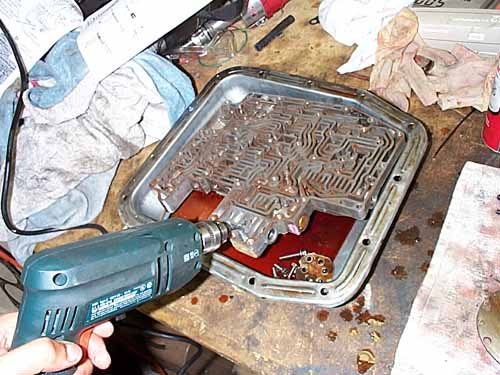
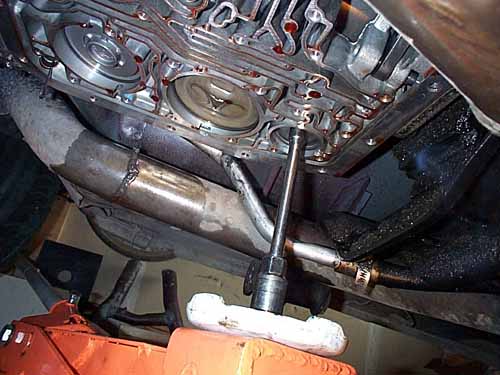
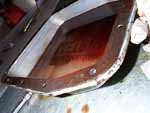
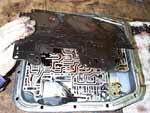
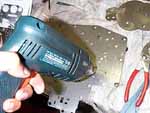
 Lay down some paper, get plenty of drain pans, and get ready
to catch twelve quarts of fluid! You may need to remove the
crossmember to get a socket on the rear three pan screws.
Lay down some paper, get plenty of drain pans, and get ready
to catch twelve quarts of fluid! You may need to remove the
crossmember to get a socket on the rear three pan screws. |
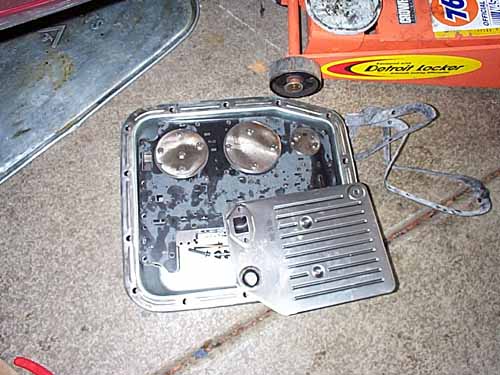
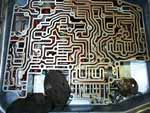
 With the pan off, first check that there are no metal shavings,
or broken plastic pieces, in the bottom of the pan. This could
indicate serious trouble which needs to be resolved before installing
this kit. As with all automatics, the fluid should be red, and
not black or brown. It should not smell funny or burnt.
With the pan off, first check that there are no metal shavings,
or broken plastic pieces, in the bottom of the pan. This could
indicate serious trouble which needs to be resolved before installing
this kit. As with all automatics, the fluid should be red, and
not black or brown. It should not smell funny or burnt. |
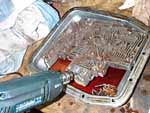
 The filter comes off next. The Transgo
Kit does not include a filter. We're not sure why, since it
comes with a gasket. Pick up 12 quarts of Mercon fluid while
you're at the store.
The filter comes off next. The Transgo
Kit does not include a filter. We're not sure why, since it
comes with a gasket. Pick up 12 quarts of Mercon fluid while
you're at the store. |
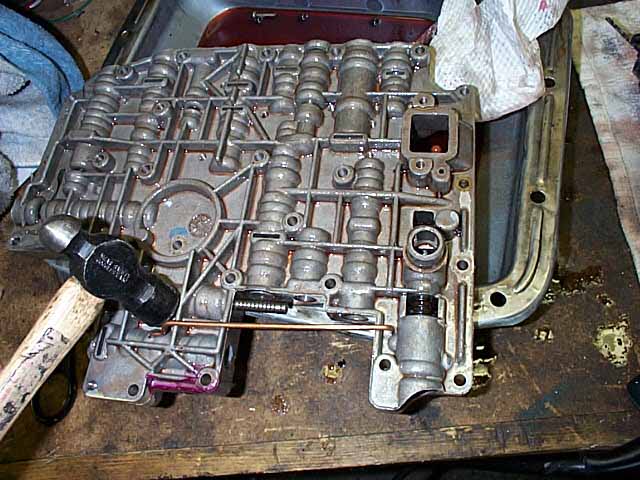
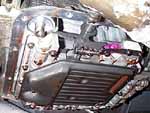
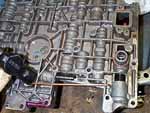
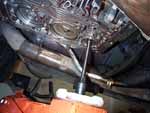
 Before taking out the valve body,
take a good look at how the linkage is connected. It's a good
idea to place the shifter in park and leave it there until you
are done. The valve body is held up with 24 screws. Don't worry
about the sizes and placement for now.
Before taking out the valve body,
take a good look at how the linkage is connected. It's a good
idea to place the shifter in park and leave it there until you
are done. The valve body is held up with 24 screws. Don't worry
about the sizes and placement for now. |
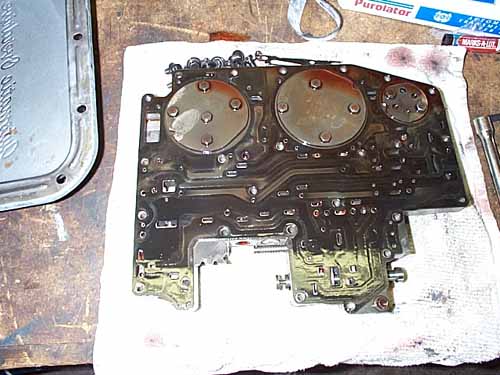
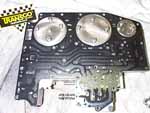
 Place the valve body a clean work
surface. You'll be dealing with lots of small parts so Organization
is the key to getting this done right.
Place the valve body a clean work
surface. You'll be dealing with lots of small parts so Organization
is the key to getting this done right.
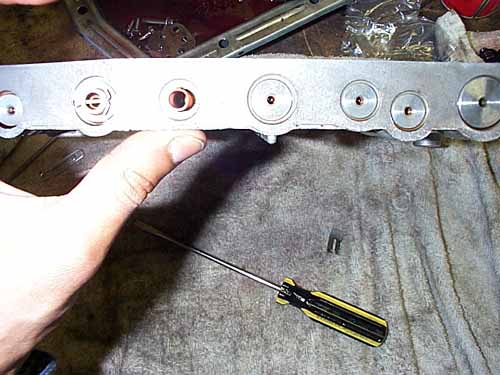
Remove the three servo covers shown here. |
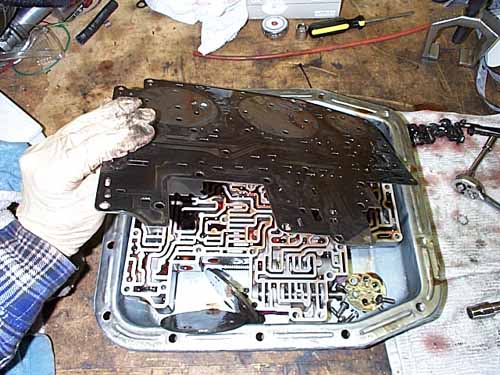
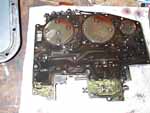
 Remove the separator plate
and discard the upper and lower separator plate gaskets.
Remove the separator plate
and discard the upper and lower separator plate gaskets. |
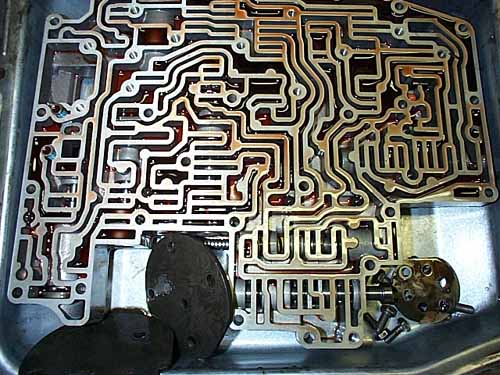
 The valve body contains six 1/4"
plastic check balls, and one orange 5/16" check ball. Turn
the valve body over carefully so the balls and loose springs
fall into the pan.
The valve body contains six 1/4"
plastic check balls, and one orange 5/16" check ball. Turn
the valve body over carefully so the balls and loose springs
fall into the pan. |
 The first modification to the valve body
is to drill two holes for the transfer tube. Follow the instructions
precisely, and clean all the shavings out of the passages afterwards.
The first modification to the valve body
is to drill two holes for the transfer tube. Follow the instructions
precisely, and clean all the shavings out of the passages afterwards.
|
 Then install the supplied transfer
tube. This modification increases holding power in third gear.
Then install the supplied transfer
tube. This modification increases holding power in third gear. |
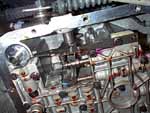
 Looking at the side of the valve
body, you can see all the different valves. Follow the video
and instructions on performing the modifications to the specified
valves. We won't go through all of them in this article.
Looking at the side of the valve
body, you can see all the different valves. Follow the video
and instructions on performing the modifications to the specified
valves. We won't go through all of them in this article. |
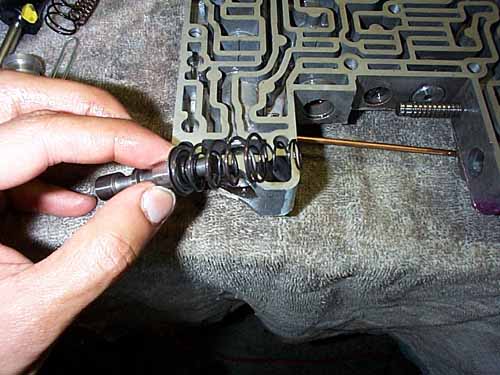
 Shown
here is the Accumulator valve modification. A couple of stiffer
springs are being added. The other valve modifications are similar;
either adding/replacing springs, and/or new valves. There are
also a couple of plugs to tap in. Straight forward stuff. Shown
here is the Accumulator valve modification. A couple of stiffer
springs are being added. The other valve modifications are similar;
either adding/replacing springs, and/or new valves. There are
also a couple of plugs to tap in. Straight forward stuff. |
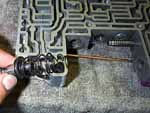
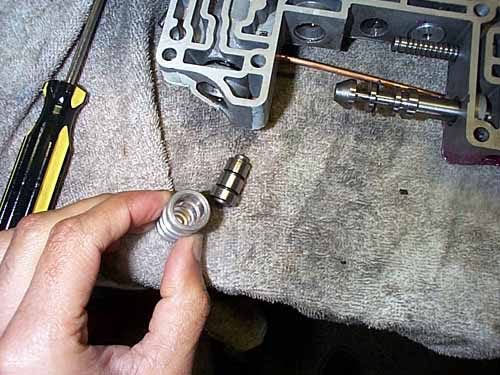
 Adding a pair of heavier springs
to the Pressure Regulator valve increases the line pressure.
Adding a pair of heavier springs
to the Pressure Regulator valve increases the line pressure. |
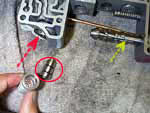
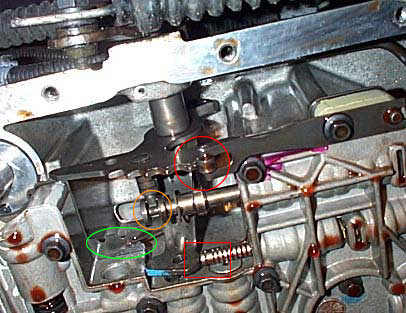
 Take care when you remove the Pressure
Regulator valve, there is a small tapered body (circled) which
sits in the plug. The TransGo diagram or video do not show this
piece.
Take care when you remove the Pressure
Regulator valve, there is a small tapered body (circled) which
sits in the plug. The TransGo diagram or video do not show this
piece.
Also notice the new manual valve (yellow
arrow.) This strengthens the 1-2 manual upshift.
|
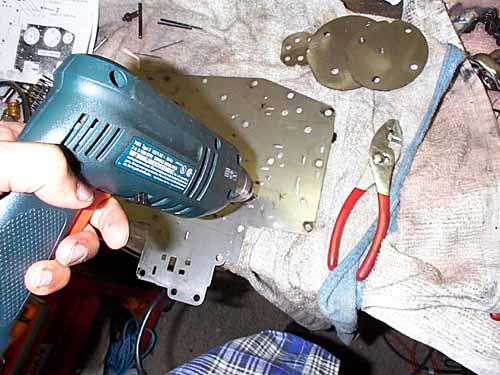
 With the valve body upgrades done,
the separator plate needs to be drilled as specified. Drill
bits are included in the kit.
With the valve body upgrades done,
the separator plate needs to be drilled as specified. Drill
bits are included in the kit.
|
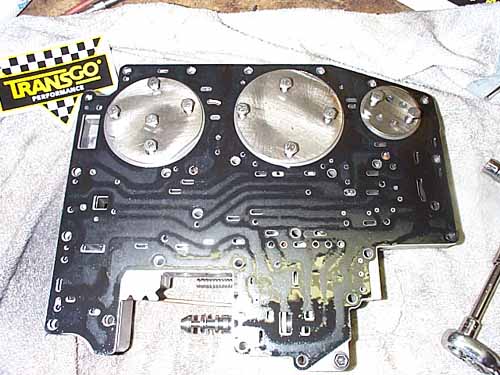
 Put the check balls and springs back
into their slots (their positions are listed in the directions.)
Put the check balls and springs back
into their slots (their positions are listed in the directions.)
Then reassemble the separator plate, gaskets, and servo covers.
|
 Before the valvebody can go back
in the trans, there are a couple minor modifications that need
to be made inside the case. First a small orifice plug needs
to be installed as directed.
Before the valvebody can go back
in the trans, there are a couple minor modifications that need
to be made inside the case. First a small orifice plug needs
to be installed as directed.
Then the 3rd Accumulator piston gets a pair of springs. This
will firm up the 2-3 shift.
The video states that it may take two people to force the cover
and stiffer springs back into place, while the other person
reattaches the c-clip. If you don't have a helper, you can do
what we did here. Use a jack and a socket extension to push
the cover up, then you have two hands free to reattach the c-clip.
Be careful not to jack to hard, the piston is plastic! |
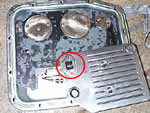
 The valvebody can now be reattached in
the trans case. Remember all the 24 bolts that came out? The
short ones go along the perimeter of the valve body. The long
ones go every where else. Use a new filter, and be sure to install
the small cork gasket over the square opening (circled).
The valvebody can now be reattached in
the trans case. Remember all the 24 bolts that came out? The
short ones go along the perimeter of the valve body. The long
ones go every where else. Use a new filter, and be sure to install
the small cork gasket over the square opening (circled). |

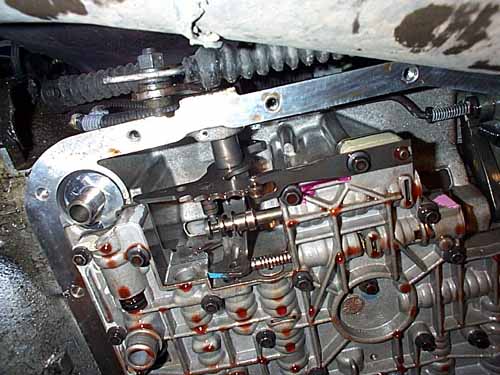
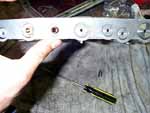
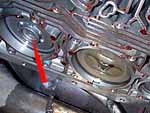
 The linkage must go back correctly, otherwise
you'll start the car to find missing gears. Look closely at
this image. The roller wheel must engage the last tooth in the
shifter cog. We recommend shifting through the gears before
putting putting the pan on, just to ensure it's all moving as
it should.
The linkage must go back correctly, otherwise
you'll start the car to find missing gears. Look closely at
this image. The roller wheel must engage the last tooth in the
shifter cog. We recommend shifting through the gears before
putting putting the pan on, just to ensure it's all moving as
it should. |
 Overdrive Servo Upgrades:
This servo (arrow) controls
the firmness of the three to four (overdrive) shift, an inherent
weakpoint in AOD transmissions. Ford AOD's came with either
C, B, or A servos. The weak C servo was in pre '85 AOD's as
well as V6 AOD's, while the B servo was used on all post '85
V8 AOD's. The heavy duty A servo, is 50% stronger than the C,
and is found on a few trucks and the supercharged V6 "Supercoupes".
The letter is stamped on the cover (arrow). If you have a C
servo, you should order an A or B servo from your Ford dealer
. If you want the highest strength possible, upgrade to the
A servo. The Ford part numbers are listed at right. |
'B' Overdrive Servo
Piston: E0AZ-7F200-B
Piston Seal: E0AZ-7D024-A
Cover: E0AZ-7D027-D
Cover Seal:E0AZ-7D024-A
*Use "C" Return Spring
'A' Overdrive Servo
Piston: E9SZ-7F200-A
Piston Seal: E9SZ-7D024-A
Cover: E9SZ-7D027-A
Cover Seal:E0AZ-7D024-A
Spring:E9SZ-7F201-A |
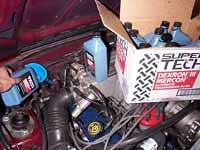
 The final step is to refill the transmission with Mercon fluid.
Put in eight quarts, then start the car and let it idle in park.
With your foot on the brake, go through all the gears. Shut
the car off and add one to two more quarts. Don't overfill;
use the marks on the dipstick.
The final step is to refill the transmission with Mercon fluid.
Put in eight quarts, then start the car and let it idle in park.
With your foot on the brake, go through all the gears. Shut
the car off and add one to two more quarts. Don't overfill;
use the marks on the dipstick.
Start the car again, check for leaks, and go out for a test
drive. Just don't bark the tires in front of any peace officers! |
|
|